Planting Across South Kona: Adapting to Elevation Zones
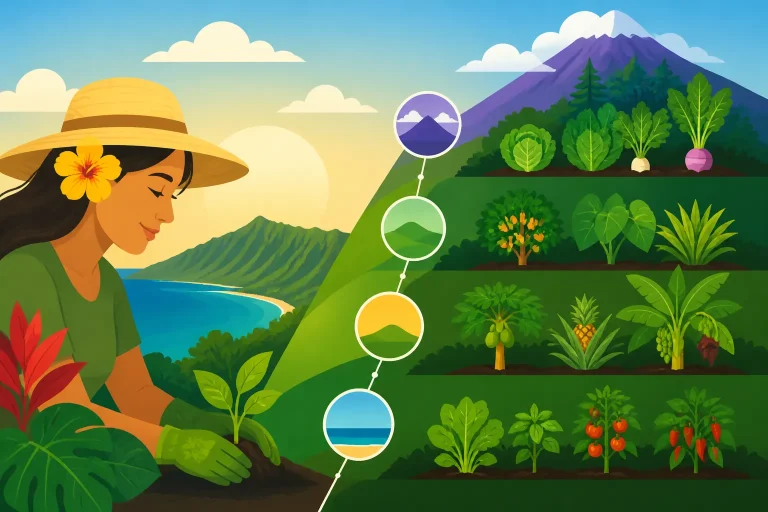
South Kona does not have one planting calendar that fits every yard. A garden near the coast can behave differently from one farther upslope, and sun, wind, rain, and drainage can matter as much as elevation. The practical solution is to match crop timing to the conditions in your own beds, then adjust as those conditions change.
Why elevation changes planting decisions in South Kona
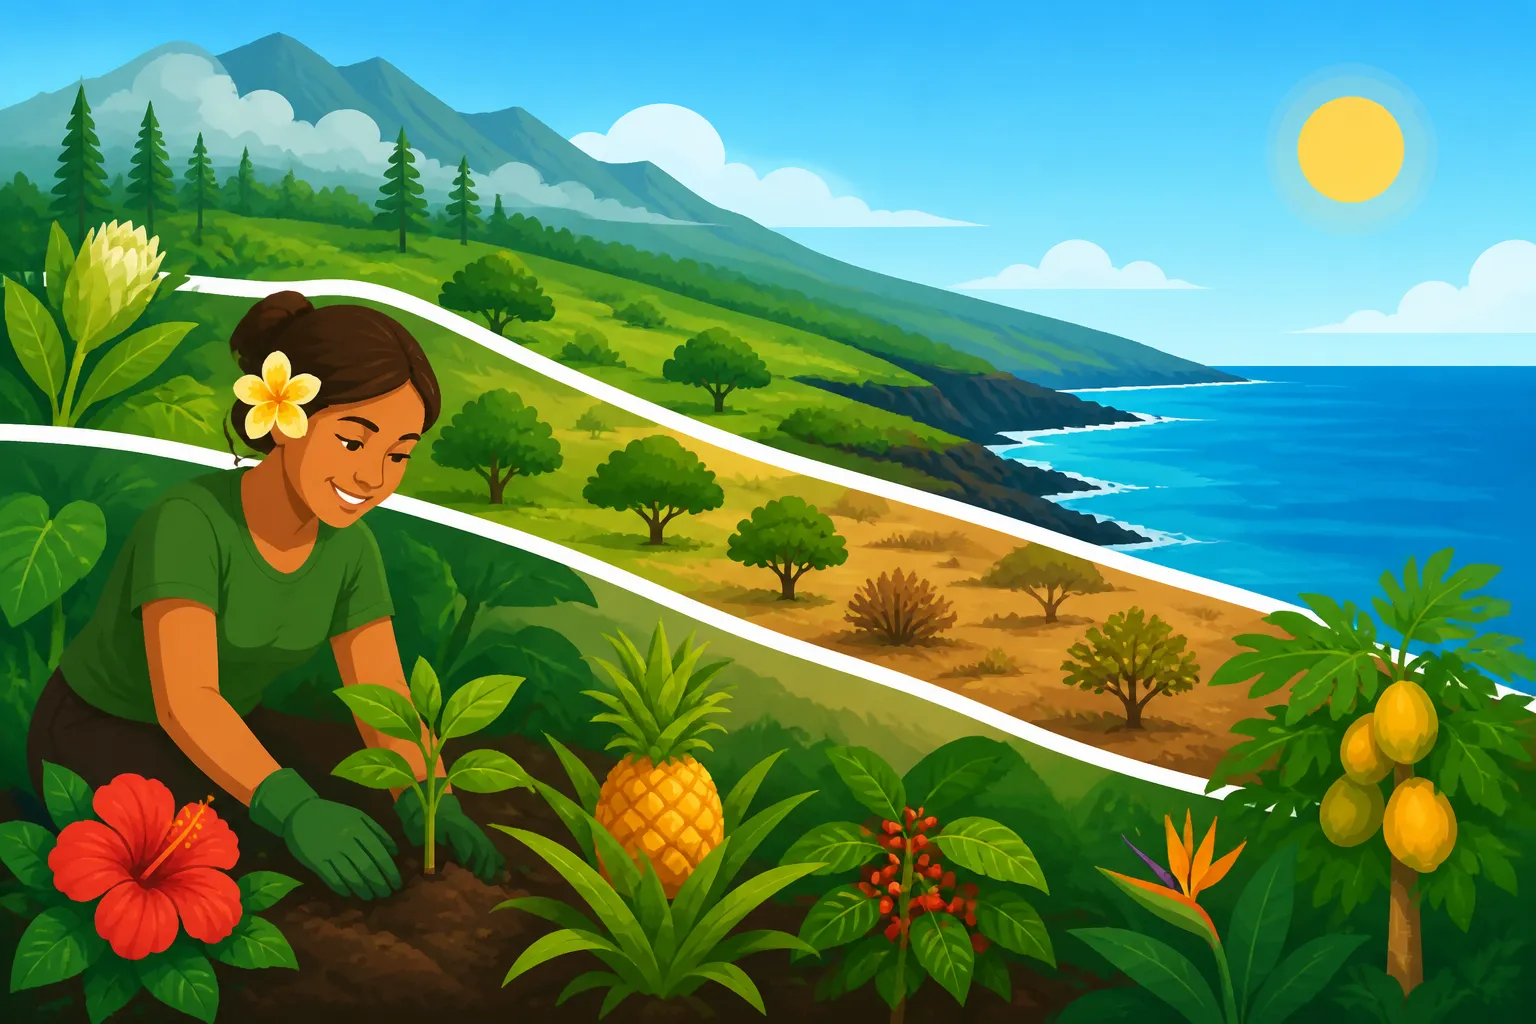
Elevation is a useful clue, but it is not a complete description of a garden. Moving upslope can bring different temperatures and nighttime conditions, while the amount of sun, wind exposure, rainfall, and shelter can vary from one property to the next. Two gardens at a similar elevation may still need different planting plans.
For crop timing, consider elevation alongside the features you can observe directly:
- Temperature: Notice whether seedlings struggle in hot afternoons or whether cool nights slow growth. Keep notes from your own garden rather than relying on a general description of the area.
- Rain and soil moisture: A bed that stays damp after rain needs a different approach from one that dries quickly. The difference can affect seed germination, root growth, and the risk of rot.
- Sun exposure: Full sun can support crops that need warmth, but intense exposure can stress tender seedlings and leafy vegetables. Shade from a building, tree, or screen may create a useful planting space.
- Wind: Wind can dry soil and foliage, bend tall plants, and make recently transplanted seedlings harder to establish. A sheltered bed may have a longer practical planting window than an exposed one.
- Drainage: Water that lingers around roots can cause problems even when the season seems suitable for planting. Soil structure and bed shape help determine whether a crop can establish successfully.
A calendar gives you a starting point, not a guarantee. If a crop is ready to plant according to a general schedule but your soil is saturated, your bed is unusually hot, or strong wind is stressing young plants, it may be better to wait or choose a more protected spot.
For a broader view of how local conditions shape timing, see Mapping Microclimates Across Hawaiian Neighborhoods and Managing Wind, Sun, and Rain Across Island Microclimates. Those principles are especially useful when your South Kona garden has a sunny exposed bed and a cooler or more sheltered area nearby.
Observe the site before choosing a crop
Before sowing, spend time watching where the sun reaches the bed and how quickly soil dries after rain or watering. Check whether the area feels exposed to wind, and look for places where water collects. These observations are more useful than assuming every part of the property shares the same conditions.
Keep a simple garden record with the crop, planting location, weather conditions you noticed, and how the plants responded. You do not need a formal chart. A few notes can reveal whether a certain bed is better suited to leafy crops, warm-season vegetables, or starts that need shelter while they establish.
Elevation can help you decide what to pay attention to, but let the garden provide the final evidence. If plants repeatedly bolt, wilt, struggle to set fruit, or fail to establish, consider whether the site is too hot, too wet, too windy, or too shaded before changing the crop schedule.
Build a planting calendar around your own beds
A useful South Kona planting calendar is a set of flexible choices for each bed, rather than a fixed list of dates. The same crop may succeed in one part of a yard and struggle in another. Planning by bed makes it easier to work with those differences.
Start by dividing the garden into areas with noticeably different conditions. A bed that receives strong direct sun and dries rapidly is not the same planting environment as a damp, partially shaded corner. You can give these spaces informal names, such as “sunny raised bed” or “sheltered greens area,” and keep separate notes for each.
| What you notice in a bed | What it may mean for planting | Practical response |
|---|---|---|
| Soil dries quickly between rain or watering | Seeds and young plants may need closer moisture checks | Add organic matter where appropriate, mulch the surface, and check moisture before watering |
| Water remains around the roots after rain | Seedlings and sensitive roots may be at risk from poor drainage | Improve drainage, use a raised bed if suitable, or choose a better-drained location |
| Strong afternoon sun reaches the whole bed | Tender starts may experience heat or sun stress | Harden starts gradually and consider temporary shade or a more protected spot |
| Wind moves seedlings or dries foliage quickly | New transplants may have trouble establishing | Use a sheltered bed or reduce exposure with a suitable windbreak |
| A bed receives less direct sun | Fruiting crops may grow differently than in a sunnier area | Reserve it for crops that tolerate the available light and observe their growth |
| Plants grow well in one season but poorly in another | The bed may have seasonal differences in heat, moisture, or exposure | Record the pattern and shift planting windows to match local conditions |
When a bed is new, avoid committing the whole space to one crop. Test a modest planting and see how it performs. If it establishes well, you can expand or repeat it. If it struggles, the result can point to a site issue rather than a problem with the entire garden.
Use the table as a decision aid, not a set of guarantees. Soil, crop variety, seed quality, and care also affect results. If you are unsure whether a particular bed drains well, watch it after rain and inspect the soil before sowing. If you are unsure about light, observe the bed at different times of day rather than judging it from one quick glance.
A calendar also benefits from flexibility. Instead of planning every bed for a single planting moment, keep a short list of crops you can plant when conditions suit them. That way, a rainy spell or a stretch of hot, dry weather does not leave the whole garden waiting on one crop.
For more detail on matching timing to conditions, Timing Sowing by Rainfall, Wind, and Yard Exposure and Upland and Lowland Planting Windows Across the Islands are useful companions. To compare seed and transplant choices, see Direct-Sowing vs Transplanting in Hawaiʻi Gardens.
Match crops and planting methods to the site
Crop selection is more reliable when you start with the bed rather than with a shopping list. Ask what the location can provide: warmth, light, steady moisture, shelter, or drainage. Then choose crops and planting methods that suit those conditions.
Tomatoes are a good example of why elevation and season belong in the same decision. According to the College of Tropical Agriculture and Human Resources, University of Hawai‘i at Mānoa, tomatoes grown at low elevations do best during cool seasons. That guidance does not mean every low-elevation South Kona garden will have identical conditions. A warm, exposed yard can behave differently from a sheltered bed, so watch how plants respond and use the seasonal cue alongside your own observations.
If tomatoes repeatedly struggle with heat stress, poor fruit set, or weak growth, avoid assuming that more water or fertilizer will solve the problem. Check whether the planting window and location suit the crop. Growing Tomatoes in Island Lowlands During the Cooler Season discusses the lowland timing issue in more detail, while Low-Elevation Tomato Growing: Managing Heat and Planting Windows focuses on matching the planting period to warmer conditions.
Direct-sow when the bed is ready
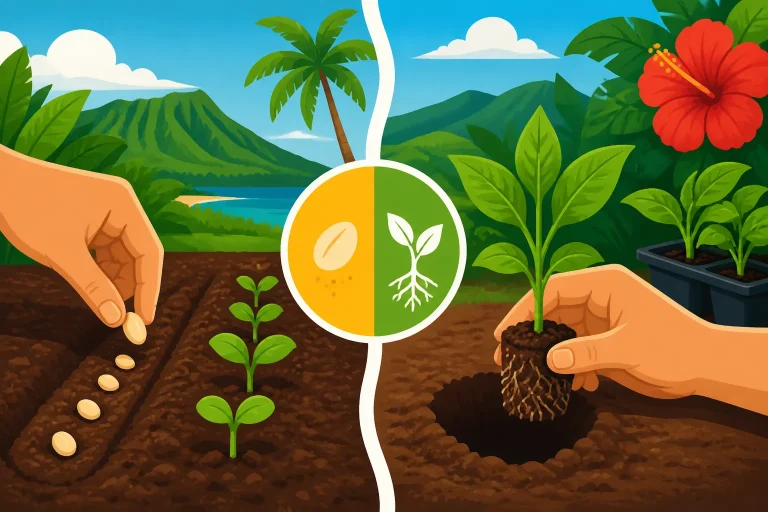
Direct sowing avoids the move from a pot or tray into the garden, but it depends on a suitable seedbed. Soil should be workable rather than waterlogged, and the planting area should be protected enough for seeds to remain in place and germinate.
Before sowing, clear the space, break up large clods, and make sure the soil surface is not crusted or compacted. Keep the seedbed evenly moist while seeds germinate, without leaving it saturated. If wind dries the surface quickly, a protected bed or a light covering can help, provided the covering does not block needed light or trap too much moisture.
Direct sowing can be a practical choice for crops that establish readily in the bed. But if seeds wash away during heavy rain, dry out before they germinate, or are disturbed by wind, consider a more sheltered location or a different starting method. The best method is the one that gives the crop a stable start in that specific bed.
Transplant when a seedling needs a protected start
Transplants are useful when seedlings need more protection than the garden bed can provide, or when you want to manage their early growth in a container. Moving a seedling outdoors still requires care. A plant raised in a protected space may be unprepared for direct sun, wind, or changes in moisture.
Harden seedlings off gradually before transplanting. Increase their exposure to outdoor conditions in stages, and avoid placing tender starts directly into harsh sun or a windy location. Transplant when the soil is workable and the plant can be cared for after planting. If conditions turn unusually hot, wet, or windy, wait for a more suitable opportunity when possible.
Planting in the late afternoon can reduce the immediate exposure to intense sunlight, but it does not replace hardening off or good aftercare. Water the root area as needed, check the soil rather than relying on a fixed schedule, and watch for wilting. If you need more detail, see Hardening Off and Transplanting Vegetable Seedlings Outdoors and Transplanting Seedlings in Late Afternoon to Cut Sun Stress.
Treat shade and shelter as planting tools
Shade is not automatically a disadvantage. A partly shaded area can be a useful place for greens or young plants that struggle in an exposed bed. The challenge is to distinguish helpful shelter from too little light. Observe the plants over time and compare their growth with plants in a brighter location.
Windbreaks can also change what is practical to grow. They can reduce direct exposure and help protect young plants, but they should not create a poorly ventilated, damp pocket. Check how air moves through the bed and whether foliage stays wet after rain. For planning help, see Setting Up Windbreaks and Shade for Sun-Stressed Crops and Why Windbreaks Are Essential for Hawaiian Home Gardens.
Adjust planting and care as conditions shift
A South Kona garden changes with weather and with the growth of surrounding plants. A tree can cast more shade as it fills out; a windbreak can make a previously exposed bed calmer; and rainfall can leave one area wet while another drains quickly. Reassess the site as the garden develops instead of treating the first planting plan as permanent.
Use the soil, not the calendar alone, to guide watering
Water needs depend on the crop, the soil, recent rain, and exposure. A breezy bed may dry faster than a sheltered one, while heavy soil can remain wet long after the surface looks dry. Before watering, check below the surface near the root zone. If the soil is already moist, additional water may not help.
For containers and raised beds, check more often because they can respond quickly to sun and wind. In-ground beds may hold moisture differently. Avoid watering by habit alone: recent rain can change the need, and a dry-looking surface does not always mean the roots are dry.
Mulch can slow moisture loss and reduce the impact of rain on bare soil. Keep it from piling tightly against plant stems, and monitor how quickly the underlying soil dries. Mulching is not a substitute for checking moisture, particularly in wet or poorly drained beds. For related advice, see Adjusting Island Garden Watering for Wet Winters and Dry Summers and How Coarse Mulch Preserves Moisture in Island Gardens.
Protect seedlings without creating new problems
A temporary cover or shade can help a seedling adjust to a sunny or windy site. But a cover can also reduce airflow, hold moisture, or create excessive heat if it is poorly placed. Check plants under covers regularly, and remove or adjust protection when it is no longer useful.
If young plants repeatedly wilt despite moist soil, consider heat or transplant stress. If leaves stay wet or the soil remains saturated, consider drainage and airflow. Changing the planting location may work better than adding more protection to a site that is fundamentally unsuitable.
Do not treat every leaf mark or wilted plant as a pest or disease problem. Look for patterns: are several plants affected, or only those in one bed? Did symptoms appear after a dry spell, a rainy period, or transplanting? These clues help separate environmental stress from other causes. Managing Common Garden Pests Across Hawaiian Yards can help when pest damage is a genuine concern.
Stagger planting to learn and keep beds productive
Rather than planting an entire bed at once, sow or transplant in smaller batches when conditions permit. This reduces the risk of losing the whole planting to a poor weather period and gives you a chance to compare how a crop performs in slightly different conditions.
Keep the crop and location consistent when making comparisons. If one batch goes into a sunny bed and another into a shaded bed, the results can help identify which site better suits that crop. If the planting dates and conditions also differ, make a note of those changes so you do not attribute the result to elevation alone.
After harvesting a crop, check the bed before replanting. Remove damaged plant material, loosen compacted soil where appropriate, and assess moisture and drainage. If the next crop has different light or water needs, moving it to another bed may be more effective than repeating the previous planting arrangement. Staggering Vegetable Sowing for Continuous Island Harvests and Succession Sowing: Replanting Vegetable Rows Right After Harvest offer more on planning repeated plantings.
A practical way to plan a South Kona planting
A planting decision is easier when you follow the same sequence each time. This keeps elevation in the picture without letting it replace observation.
- Describe the bed. Note whether it is sunny, partly shaded, exposed to wind, sheltered, fast-drying, or slow-draining.
- Check current conditions. Feel the soil below the surface, look for standing water, and consider recent weather.
- Choose a crop suited to the site. Think about its needs for warmth, light, moisture, and support rather than selecting by calendar alone.
- Choose how to start it. Direct-sow when the seedbed is suitable, or use a transplant when a protected start is useful.
- Protect new plants sensibly. Harden seedlings off, reduce harsh exposure when needed, and avoid covers or barriers that trap too much moisture.
- Observe the result. Record germination, establishment, growth, and any signs of stress.
- Adjust the next planting. Change the location, timing, or method based on what you observed.
This process works for both new and established gardens. It is especially helpful when you are gardening in more than one elevation zone, because it encourages you to compare actual bed conditions instead of assuming that a single regional schedule applies everywhere. For a wider seasonal overview, Hawaiʻi Home Garden Calendar: Sowing, Sun, and Seasonal Rains and Year-Round Island Vegetable Gardening: Sowing, Soil, and Care can help connect individual planting decisions to ongoing garden care.
The main trade-off is that observation takes time. A fixed calendar is quicker to follow, but it can lead to missed opportunities or poorly timed plantings when a yard differs from the conditions the calendar assumes. A flexible calendar requires notes and occasional changes, yet it gives you a better chance of matching crops to the places where they can grow well.
Frequently Asked Questions
Is there one planting calendar for all of South Kona?
No. Elevation is one part of the picture, but sun, wind, rainfall, soil moisture, and drainage can differ between properties and even between beds. Use a general calendar as a starting point, then adjust based on local conditions.
Should I plant the same crop in every elevation zone?
Not automatically. A crop that succeeds in a sheltered bed may struggle in a hotter, windier, or wetter location. Try a small planting in each suitable area and use the results to decide where to plant more.
When should I plant tomatoes in low-elevation South Kona?
Use the cooler part of the local growing cycle as your cue, while also considering the bed’s sun, airflow, and moisture. Tomatoes can respond differently in exposed and sheltered locations, so monitor the plants rather than relying on elevation alone.
Is direct sowing or transplanting better?
Neither method is always better. Direct sow when the bed provides a suitable seedbed and conditions for germination. Transplant when a protected start is useful, and harden seedlings off before moving them into outdoor conditions.
Sources
- College of Tropical Agriculture and Human Resources, University of Hawai‘i at Mānoa — B 91 (PDF) (checked November 15, 2026)
Disclaimer
This article is for general informational purposes only and does not constitute professional advice. Laws, prices and regulations vary by location and change over time. Consult a qualified professional for guidance on your specific situation. Hawaii Gardening Guide is not a government agency and is not affiliated with any university extension, state department of agriculture or other government agency.